Conducting The Interview: Guide For The Recruiter
P2P interviews, or Peer-to-Peer interviews, are video-meeting interviews between a recruiter and a candidate supported by an AI assistant. The process consists of three parts: setting up the meeting, conducting the interview, and reviewing results.
Part 1: Meeting Setup
Step 1: Start And Sign In
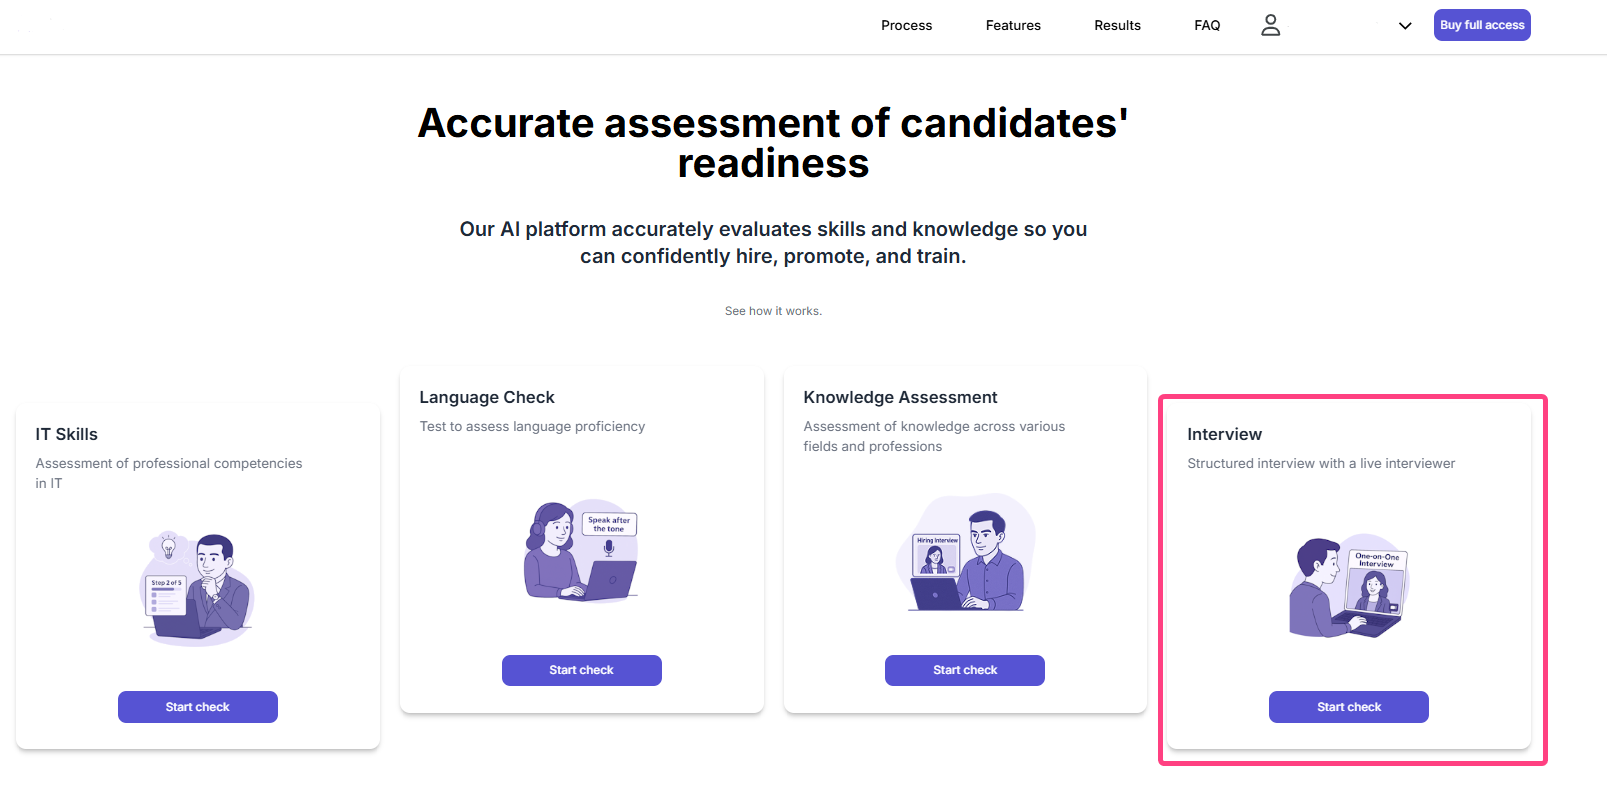
- On the Welcome page, click Start assessment on the Interview card.
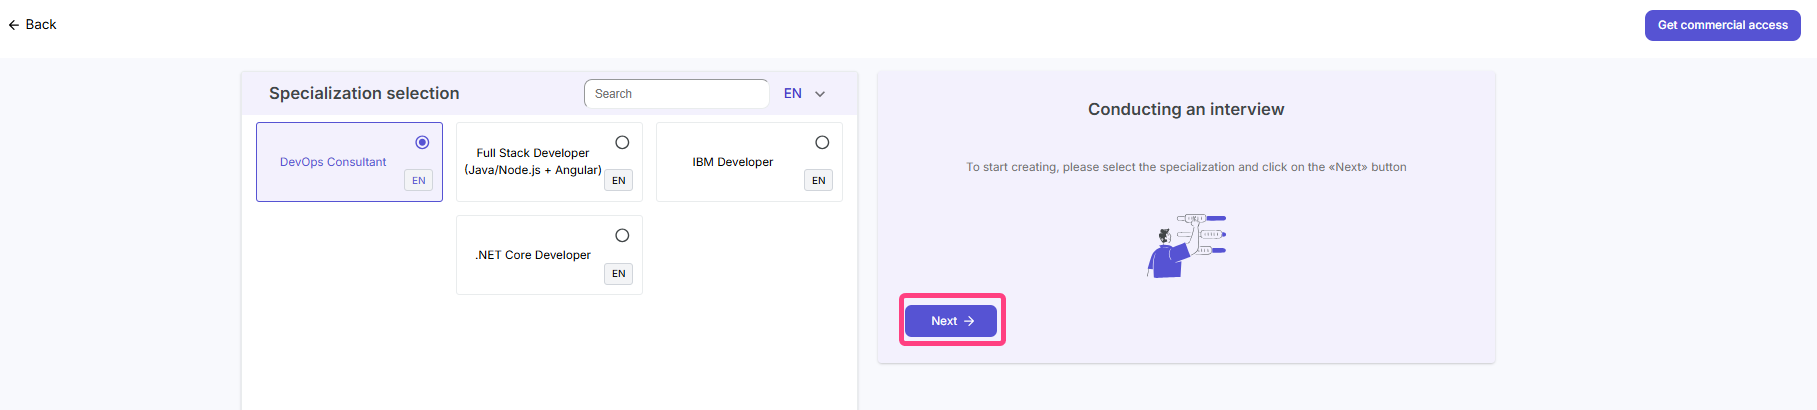
- Choose the interview technology or specialization.
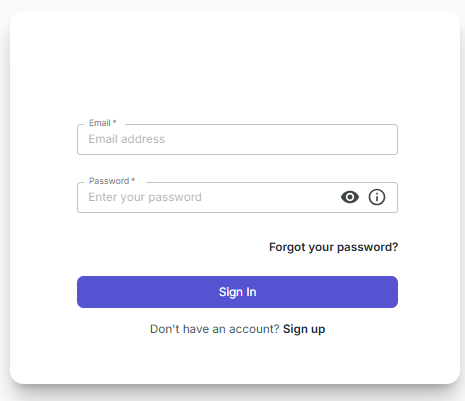
- If you are already registered: the system will ask for recruiter account credentials, meaning email and password. Enter Email and Password, then click Sign in.
- If you are not registered:
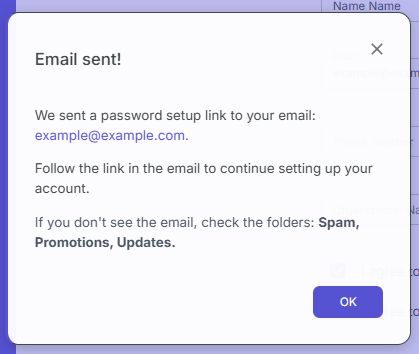
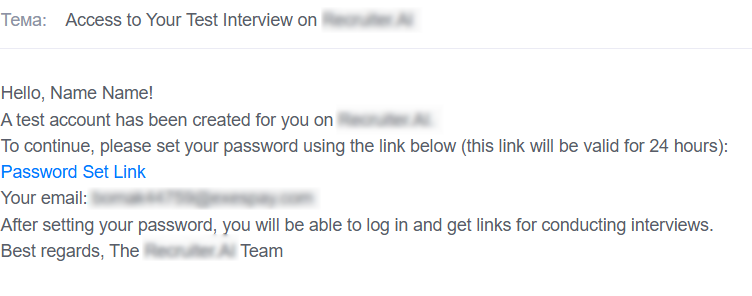
- After clicking Next, an email with a password setup link will be sent to the specified email address. This email comes from
recruiter-ai@recruiter-ai.ruwith the subject “Access to your test interview on RECRUITER.AI”. - Follow the link, create a password, and the system will sign you in automatically.
- After clicking Next, an email with a password setup link will be sent to the specified email address. This email comes from
Step 2: Enter Interviewer Details
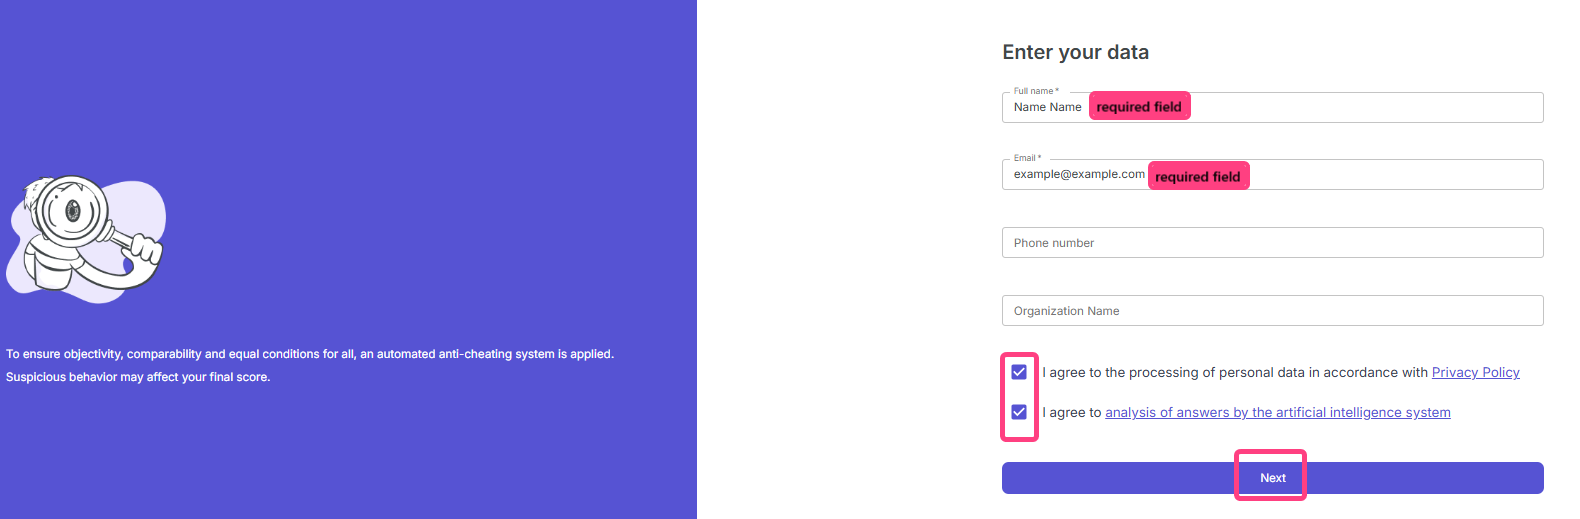
- After signing in, the Enter your details page will open.
- Fill in the required fields:
- Interviewer name
- Interviewer email
- Tick the two checkboxes to give consent:
[ ] I agree to the processing of personal data according to the Privacy Policy[ ] I agree to the analysis of answers by the artificial intelligence system
- Click Next.
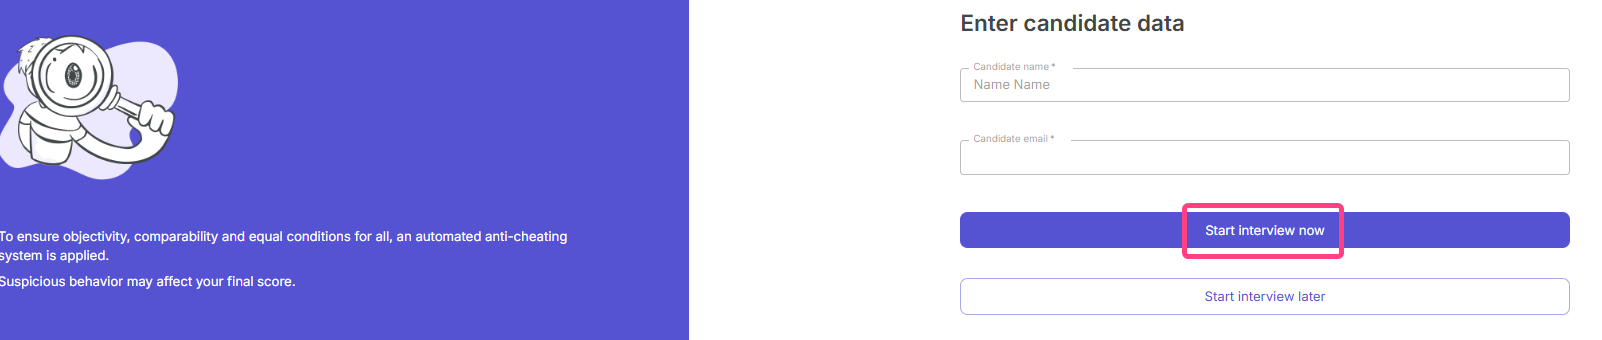
Step 3: Enter Candidate Details
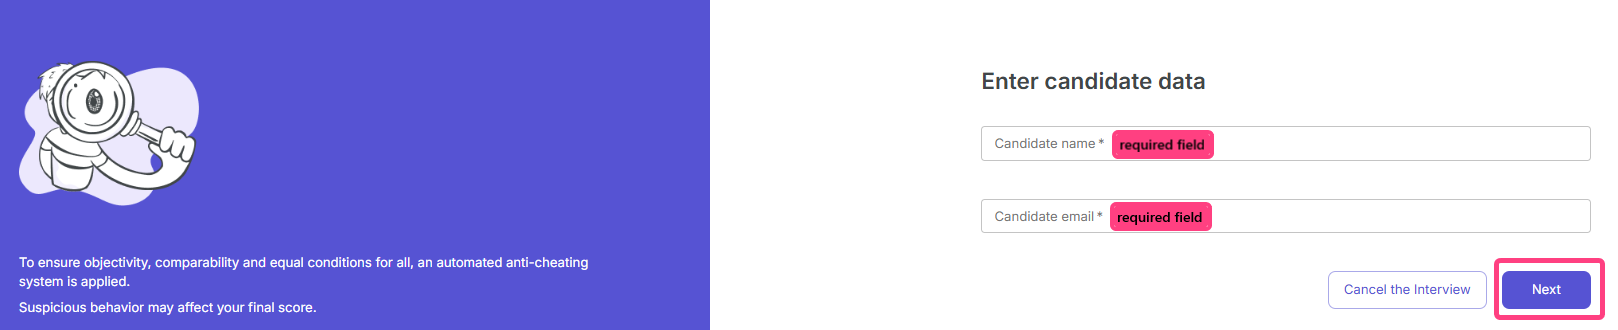
- After signing in, the Enter candidate details page will open.
- Fill in the required fields:
- Candidate name
- Candidate email
Step 4: Choose The Time And Send The Invitation
- Choose the interview mode:
- Conduct the interview right now for an immediate start.
- Conduct the interview later to schedule it for another time.
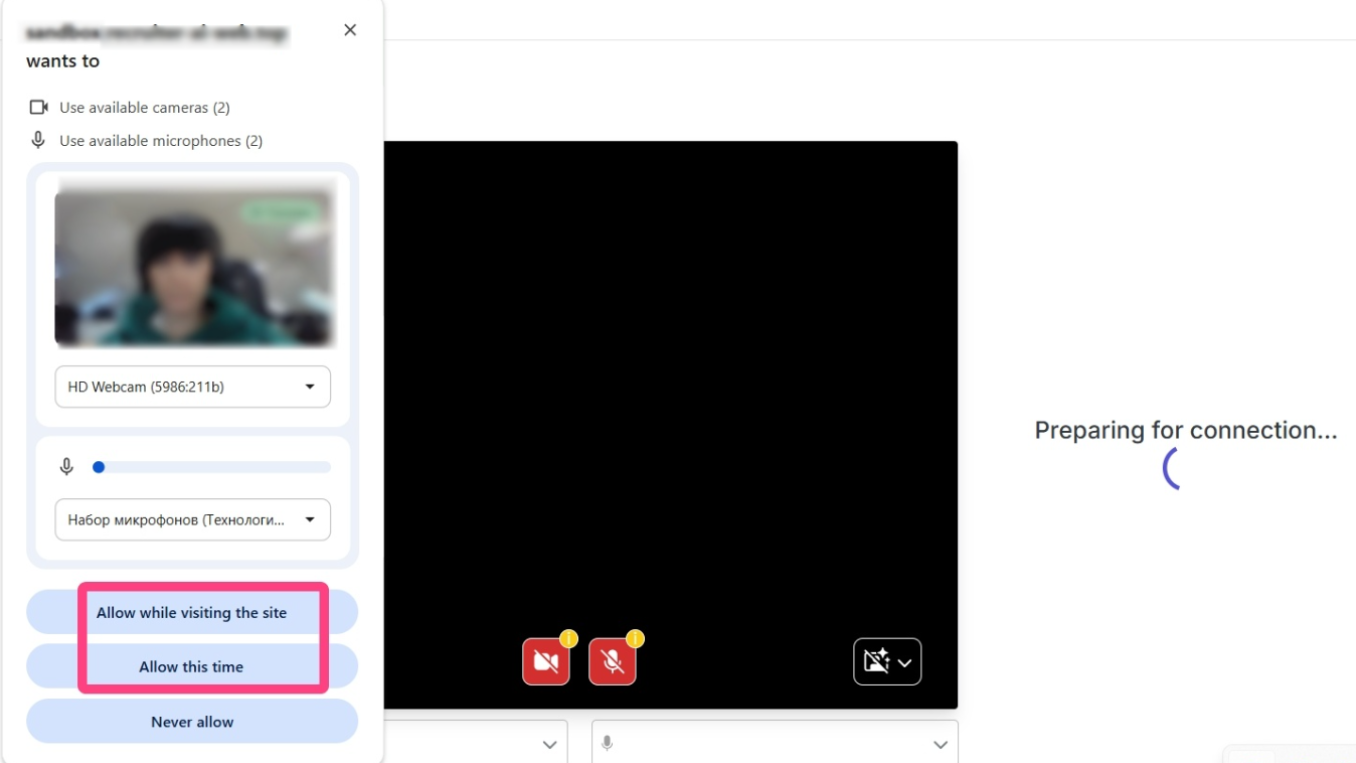
- After confirmation, the system will open a waiting page with a unique link for the candidate and equipment setup instructions.
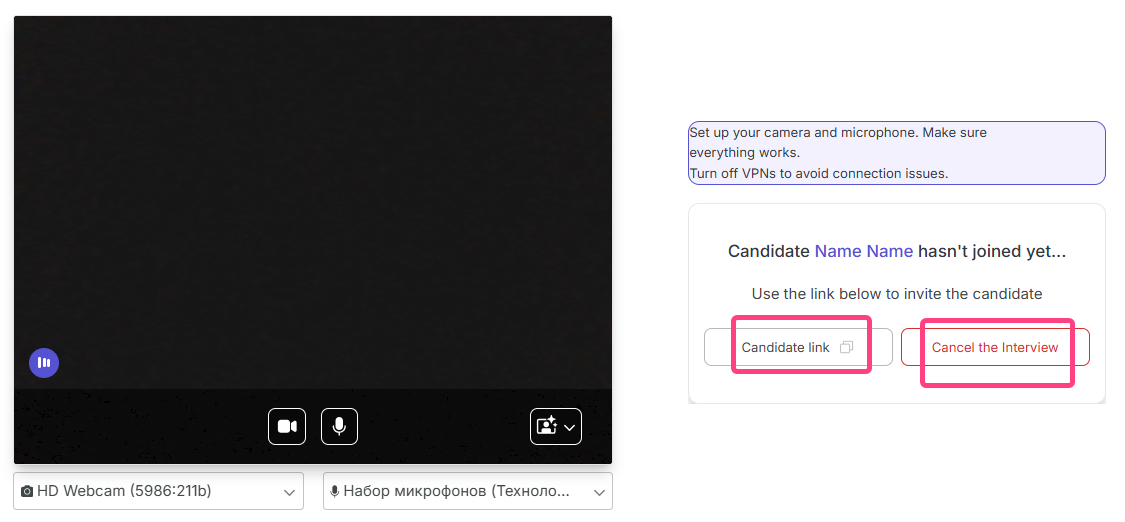
- Copy this link and send it to the candidate through any messaging service.
- The candidate receives the link and opens it.
- The page will display the status “Candidate ... has not joined yet”.
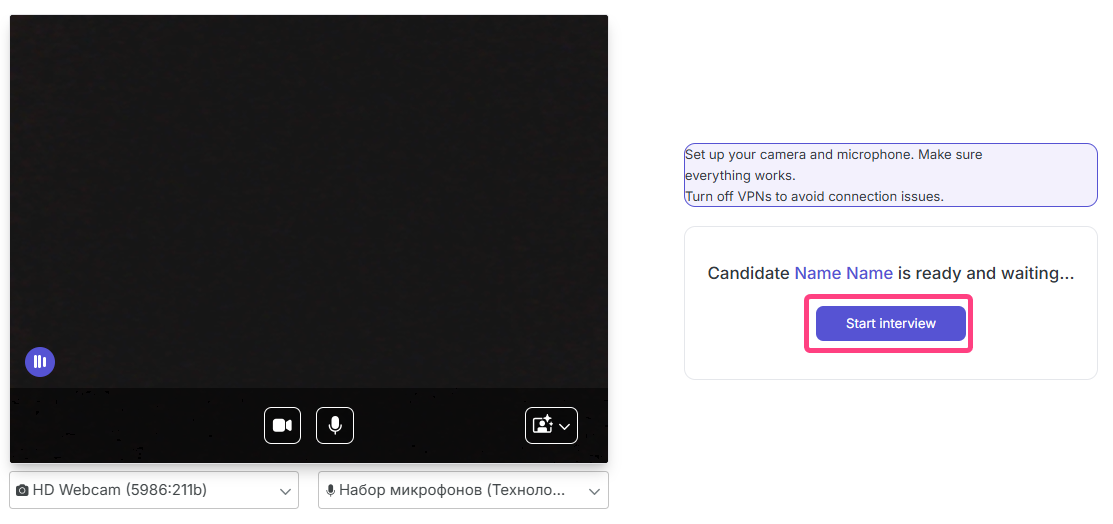
- Wait until the candidate joins the session. The status will change to “Candidate ... is ready and waiting”, and the button will change to Start interview.
Part 2: Conducting The Interview
Step 5: Start The Interview
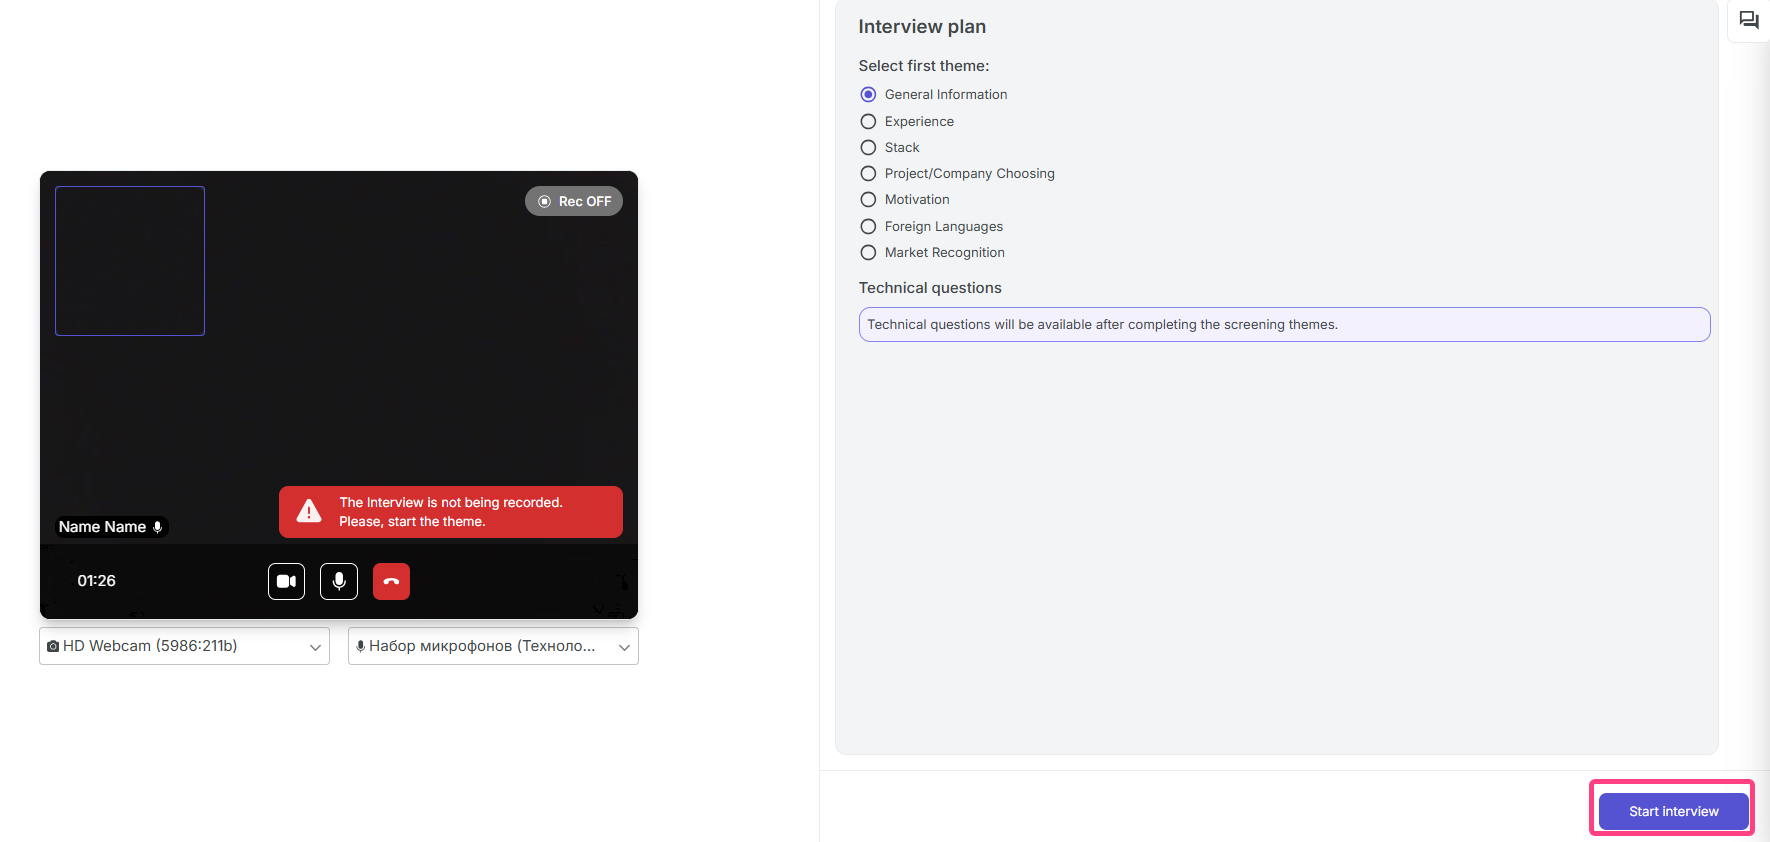
- As soon as the candidate joins, click Start interview.
- A page with the Interview plan will open, containing all discussion topics available for the selected specialization.
- You can choose topics in any order and mark them with checkboxes. Checked topics are considered completed.
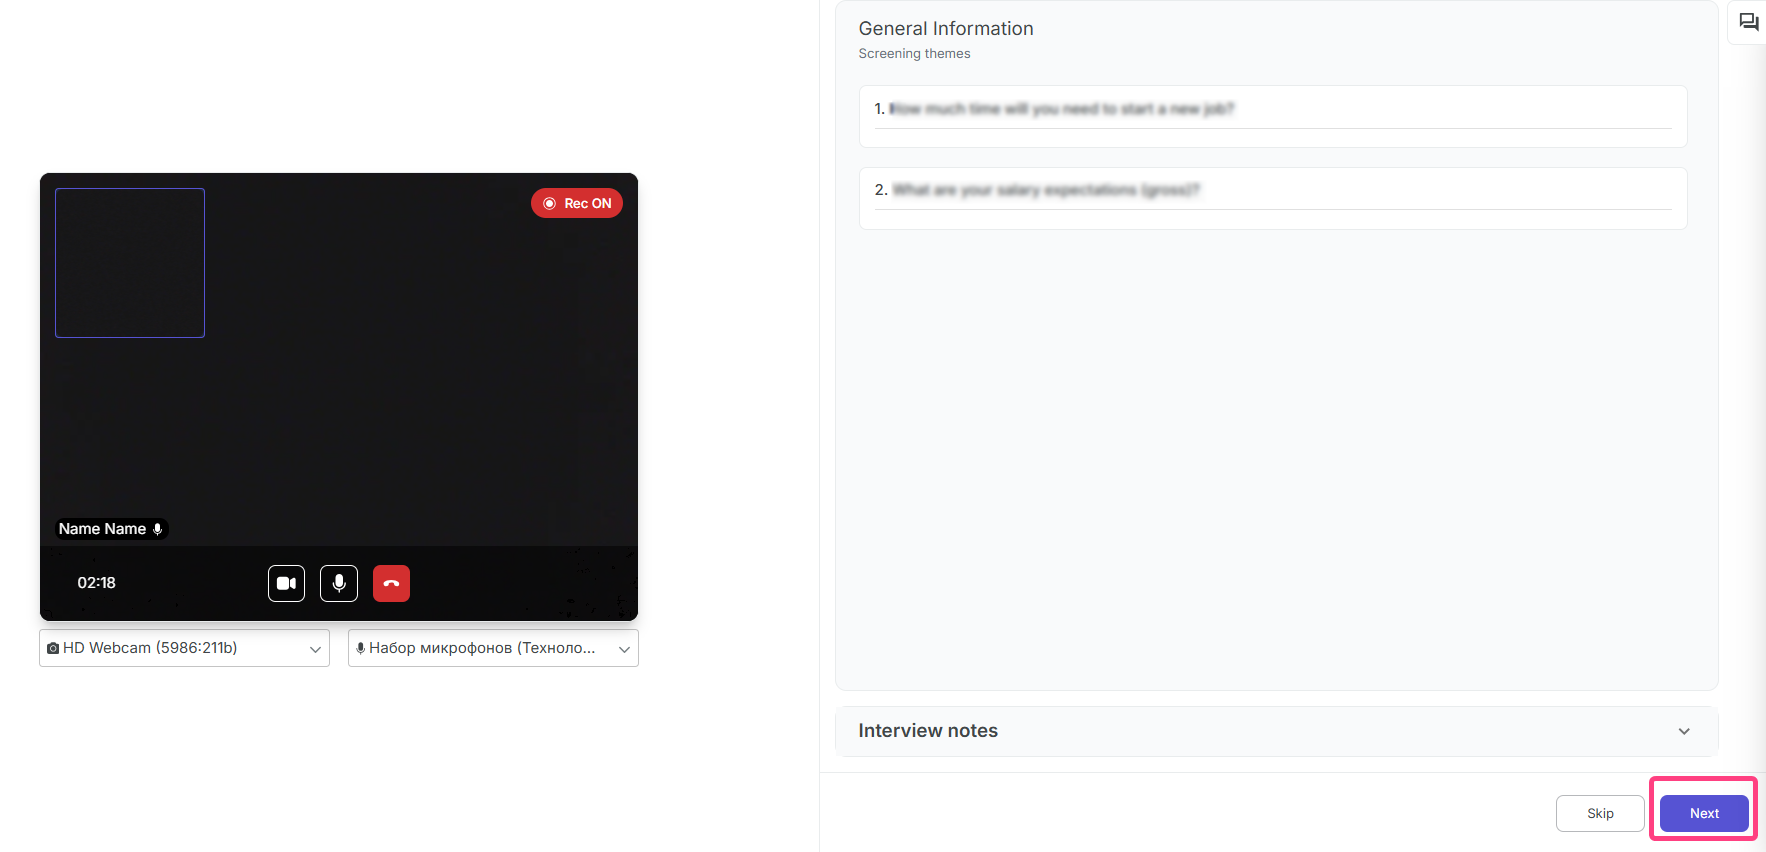
Step 6: Conduct The Conversation And Technical Screening
- Conduct the conversation with the candidate using the selected topics.
- After finishing the topic discussion, click Start technical part to move to the test.
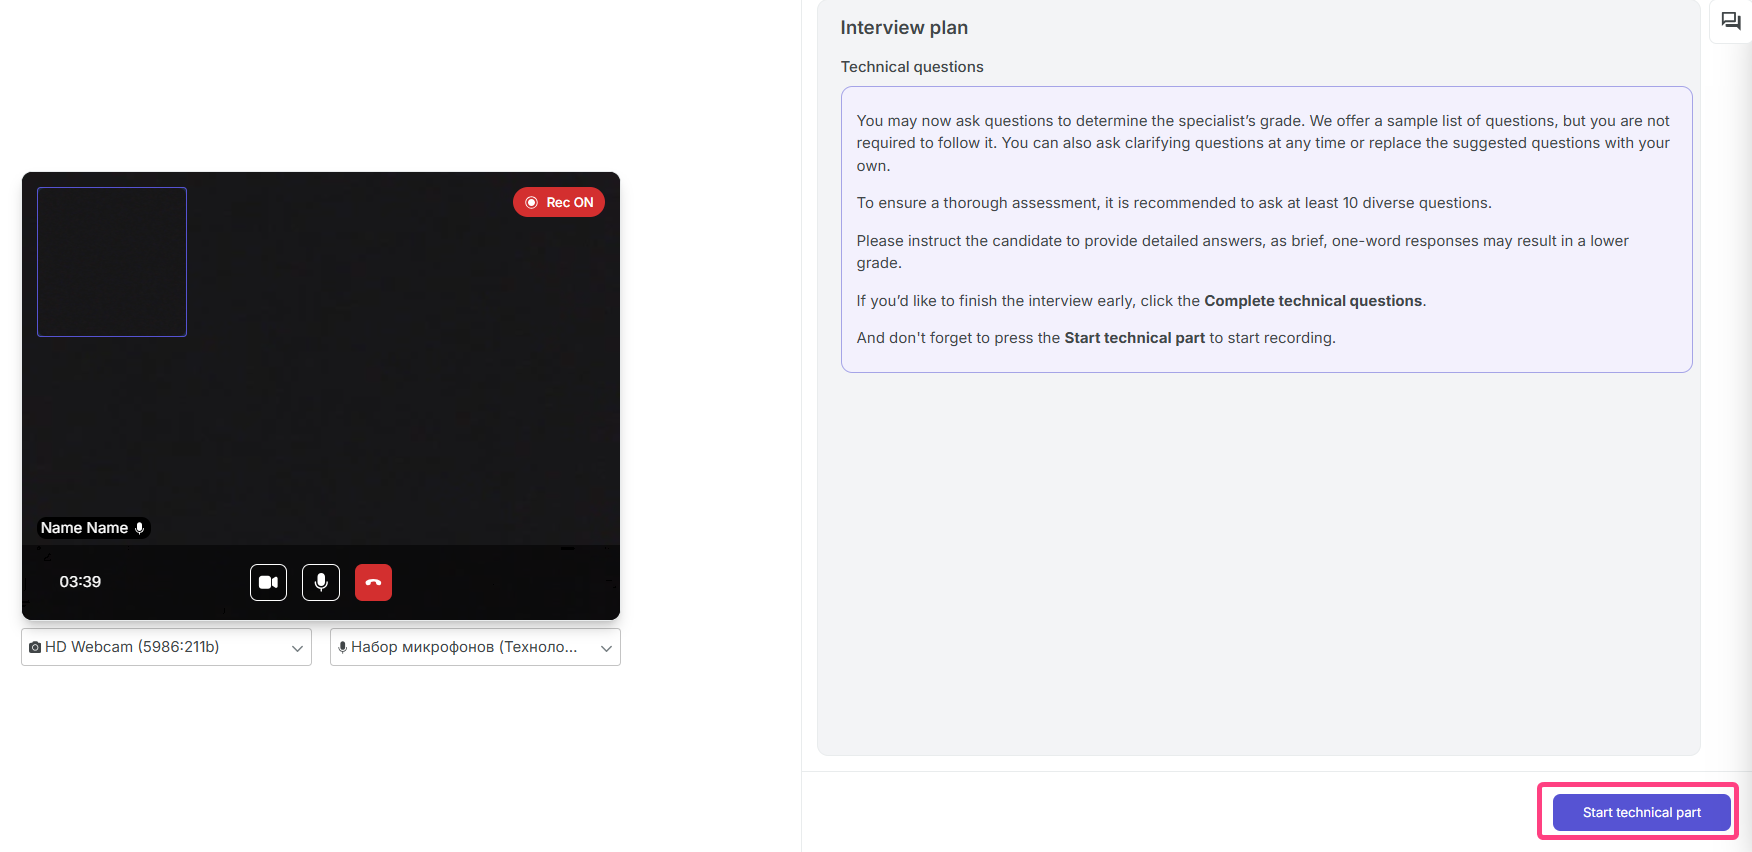
- The system will then show technical questions to the candidate one by one, for example
Question: 7/10. In the recruiter interface, each question displays:- Question text.
- Alternative explanation of the question.
- Answer, an example of the expected answer for recruiter reference.
- During the process, you can add Interview notes.
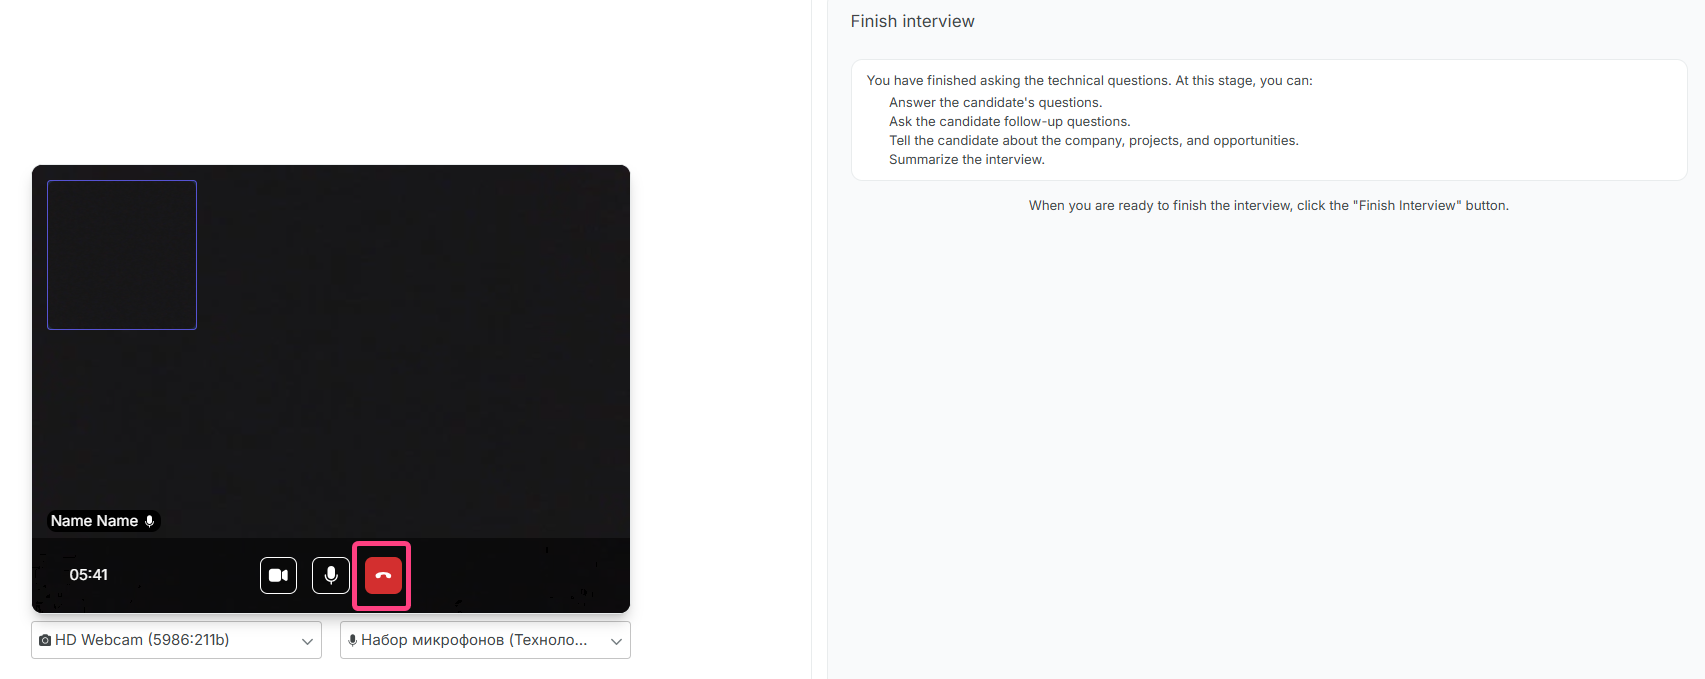
Step 7: Finish The Interview
- After all technical questions are completed, the Finish interview stage will open. Here you can answer the candidate’s questions, talk about the company, and summarize the meeting.
- To finish completely, click the red phone icon.
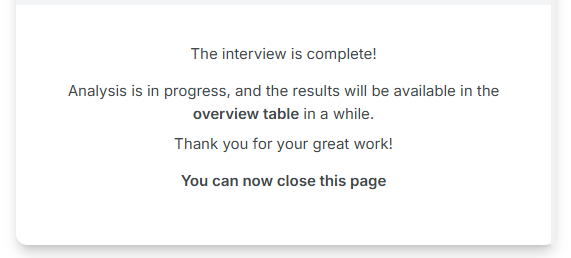
- A final confirmation modal window will appear: “Interview completed. Thank you for your time. You can view the interview results here.”